
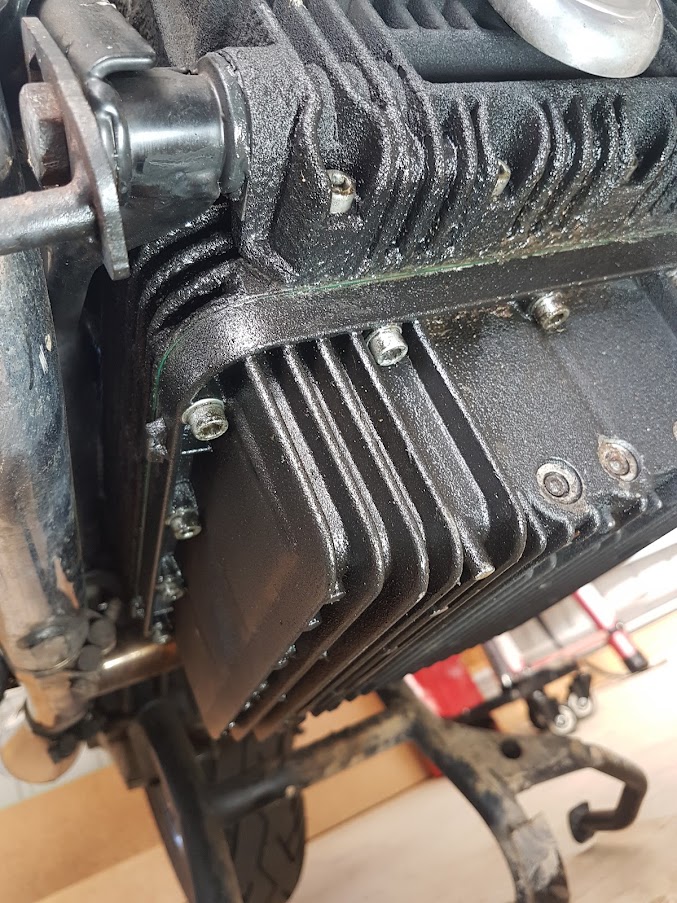
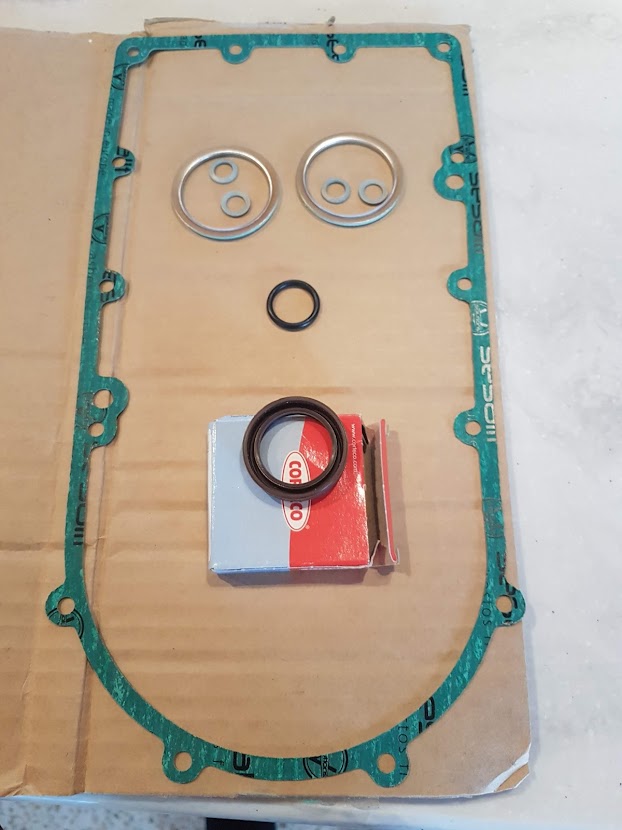
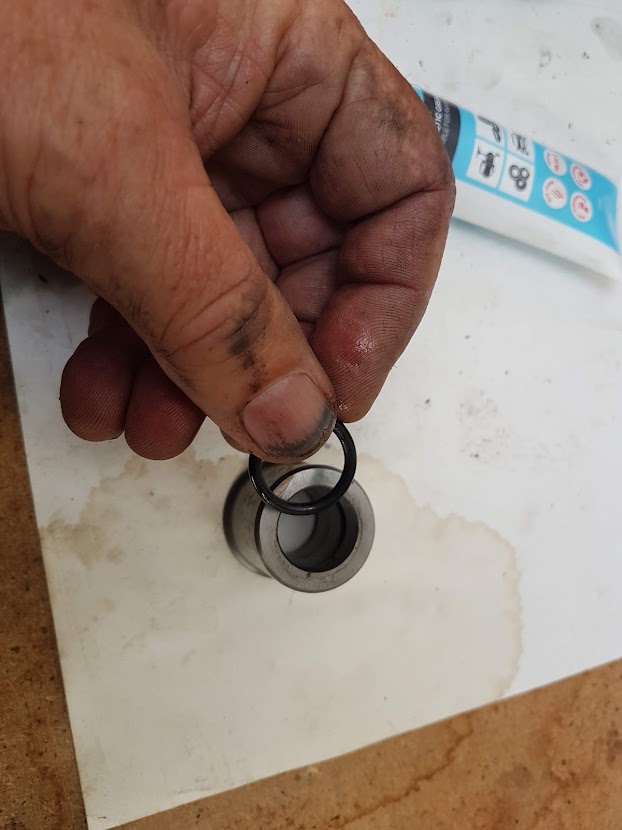
No sooner had I repaired the fuel indicator and timing sensor leaks, it became apparent that I had another leak. Oil seem to be coming from the front-right of the engine and spreading under the sump as I rode along. It didn’t drip on the floor but it bugged me. I hoped it was the sump gasket so I replaced that and did an oil change. But it didn’t fix the problem. I searched Google and the forums – it wasn’t an uncommon problem but details for getting in there and fixing it were scanty. I spoke to a few bods – Peter Roper at Moto Moda, Mario at Thunderbikes in Perth, and Bill Finegan at Hpower (who lives up the road from me). They thought that I should be able to do it myself…gulp! After reading all I could and scanning the parts diagrams, I ordered from Thunderbikes a new timing cover gasket, an alternator seal and O-ring, two gaskets for the headers and new washers for the header nuts.
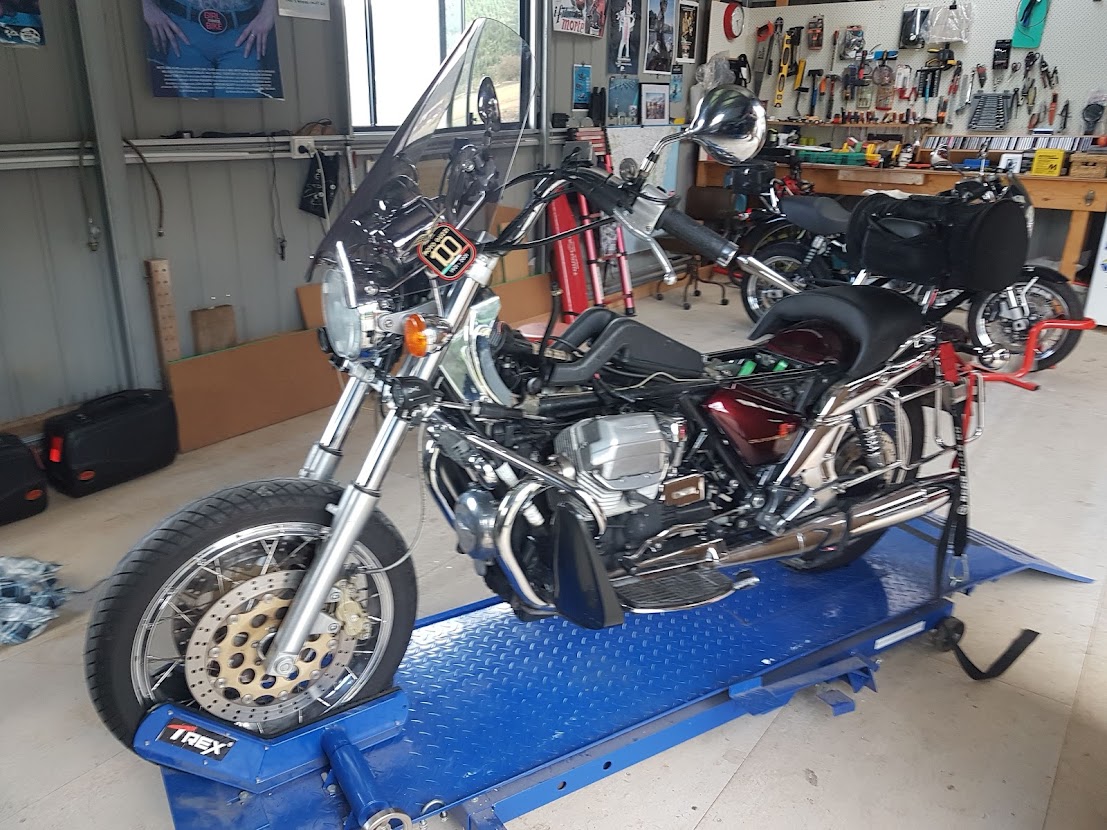
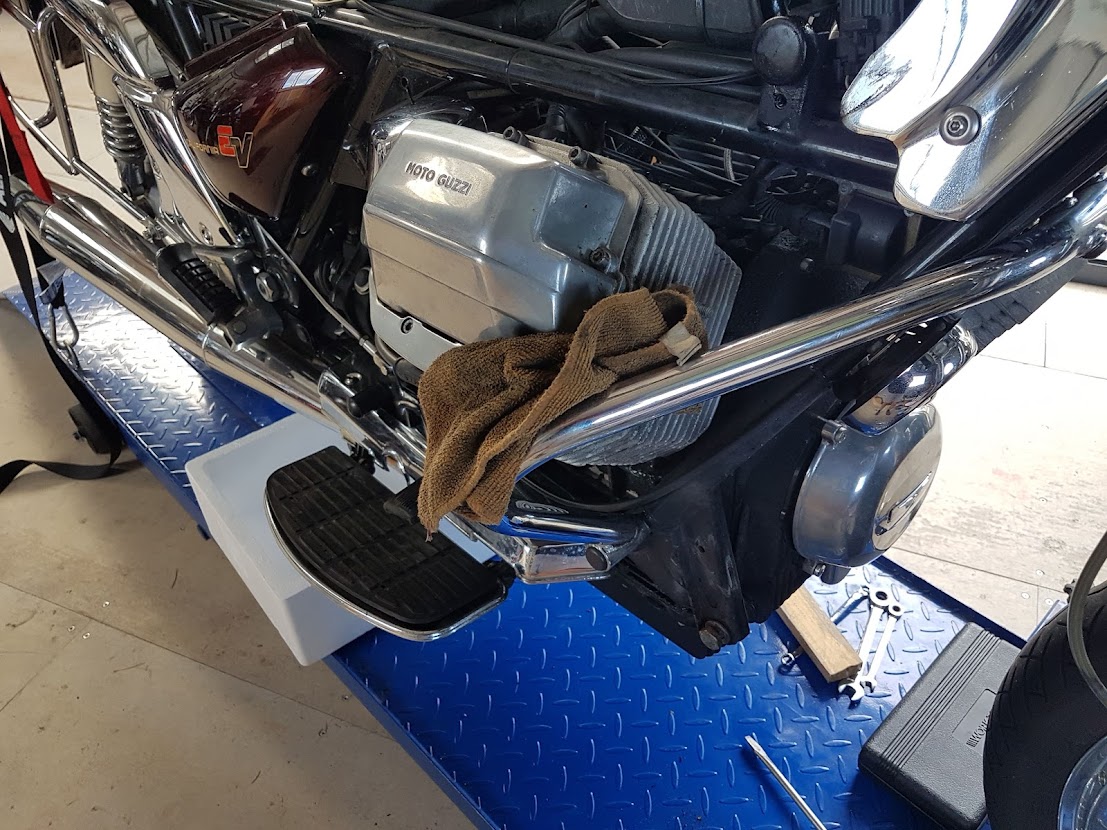
After removing the tank and battery to reduce weight, a neighbour and I pushed the big girl up onto the ramp.
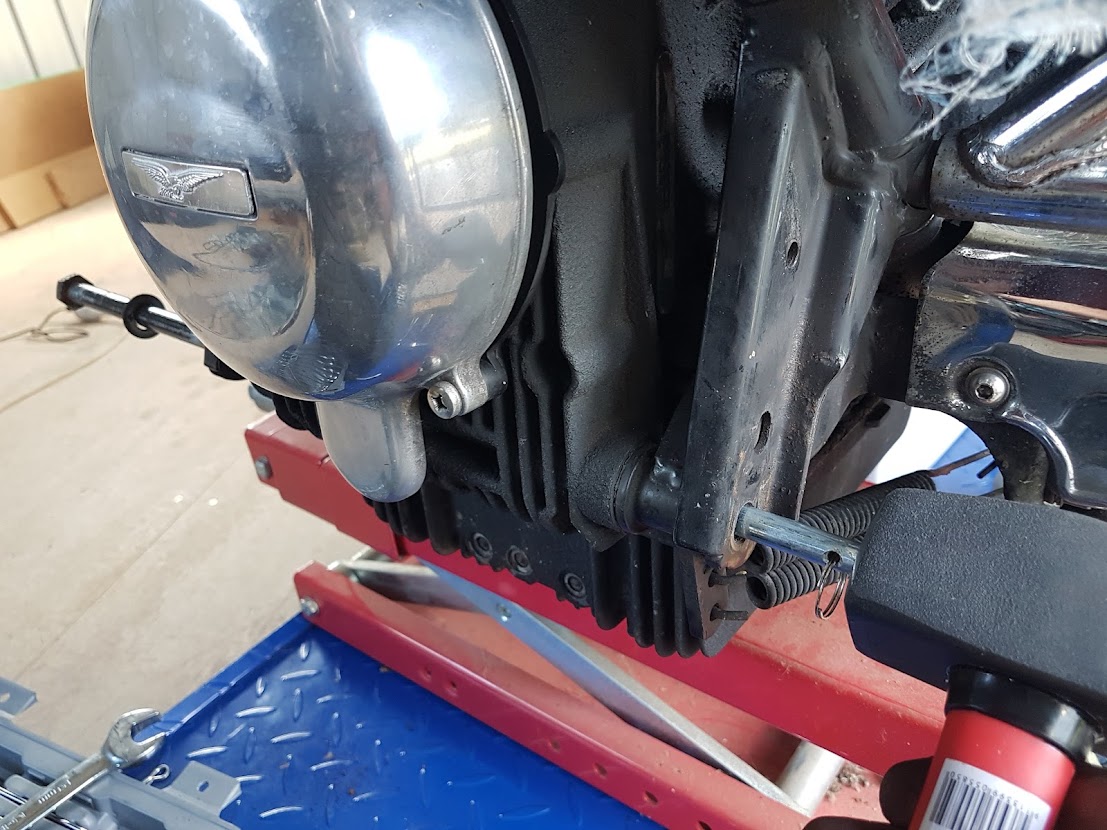
To remove the main frame bolt which is passes through the bottom of the timing cover and the engine frame, I had to remove the exhaust headers, which meant removing the toe covers.
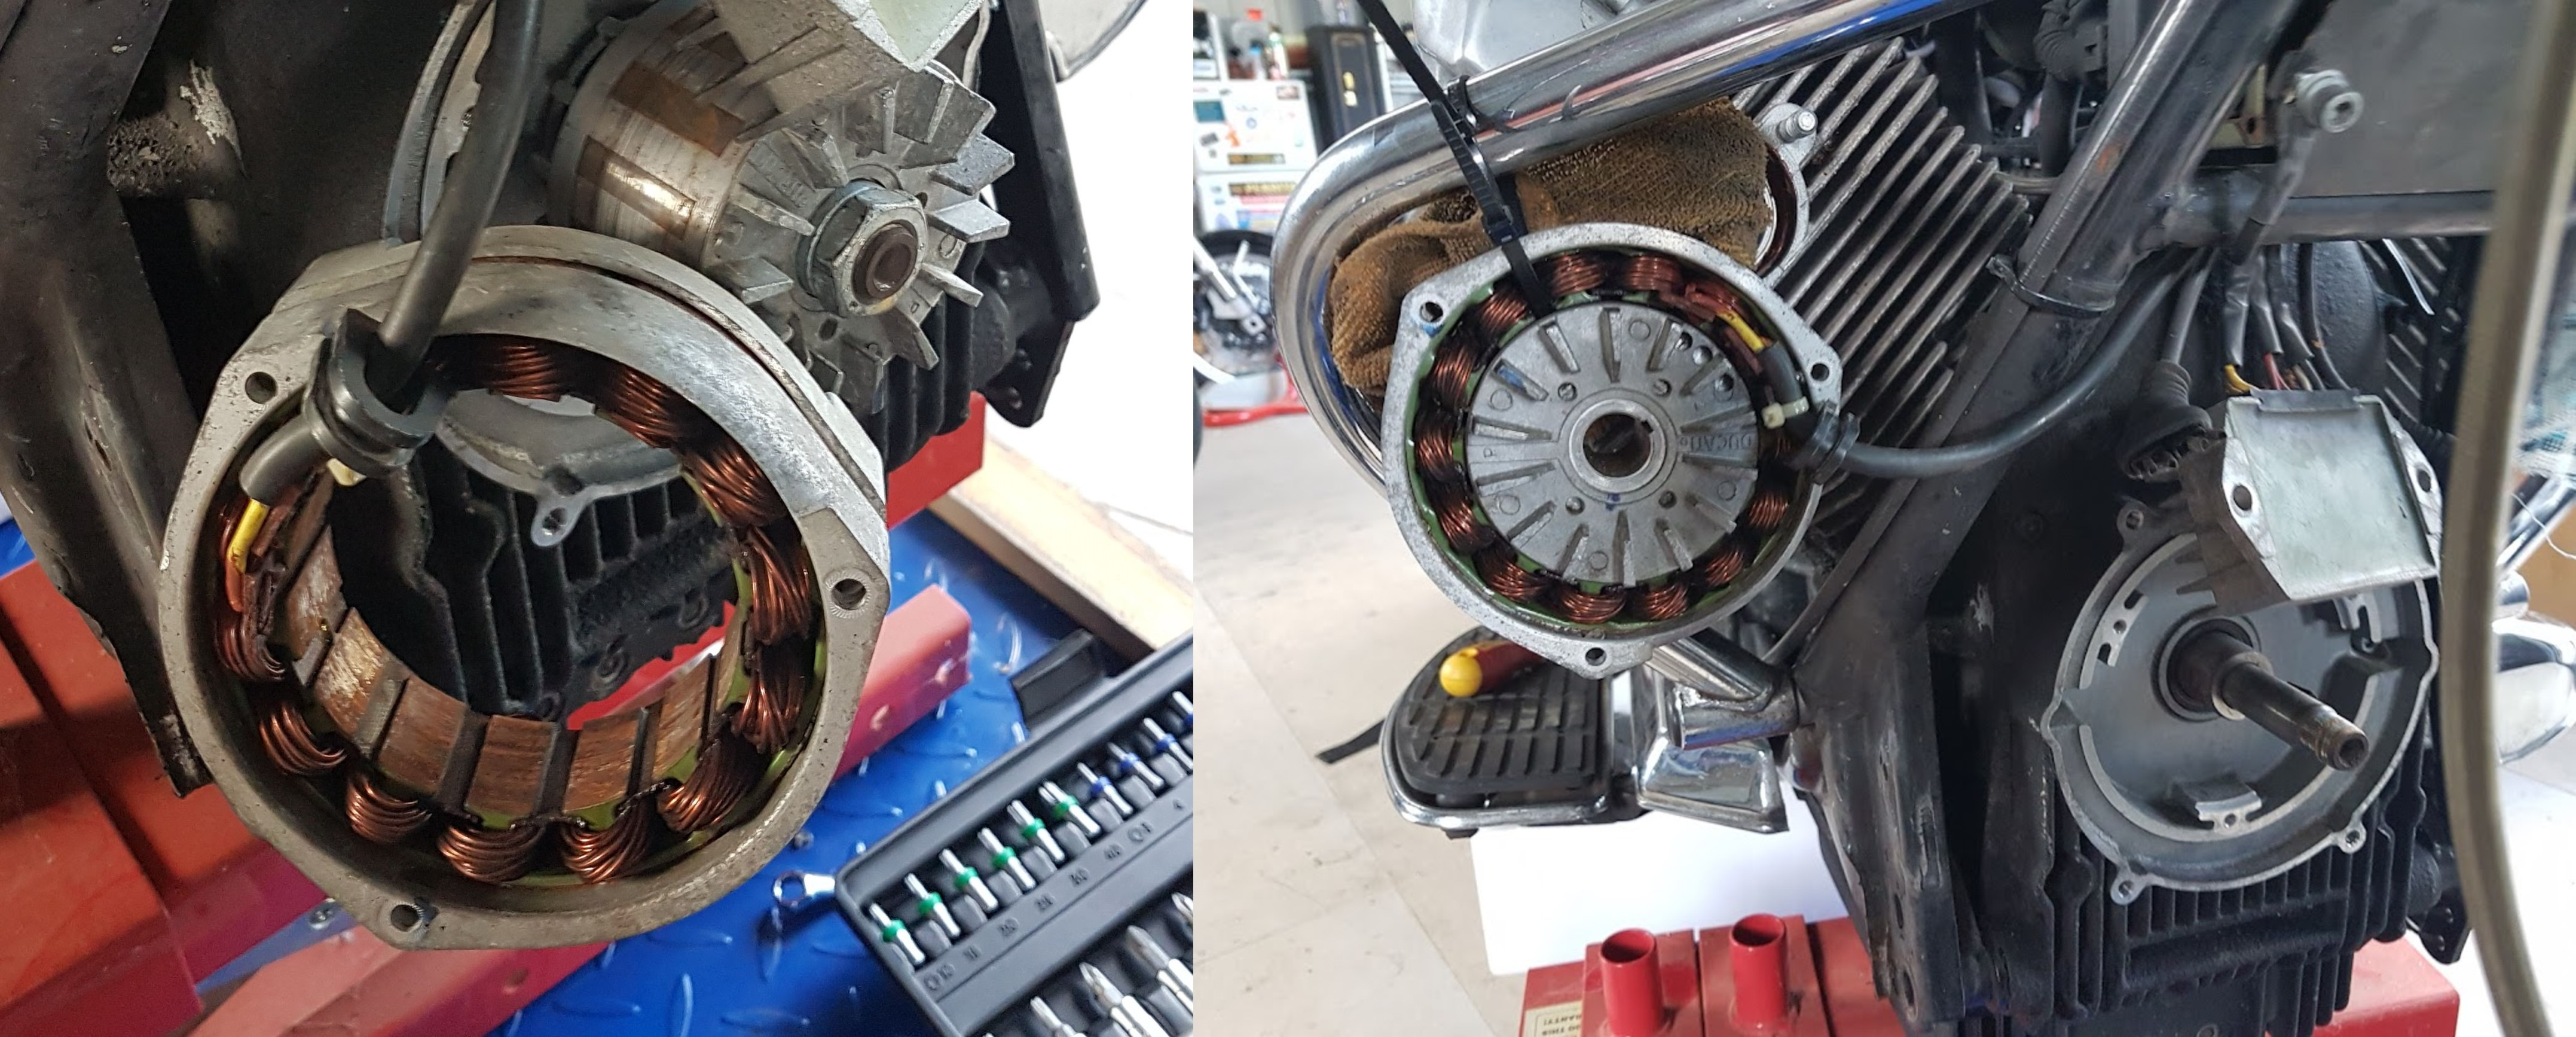
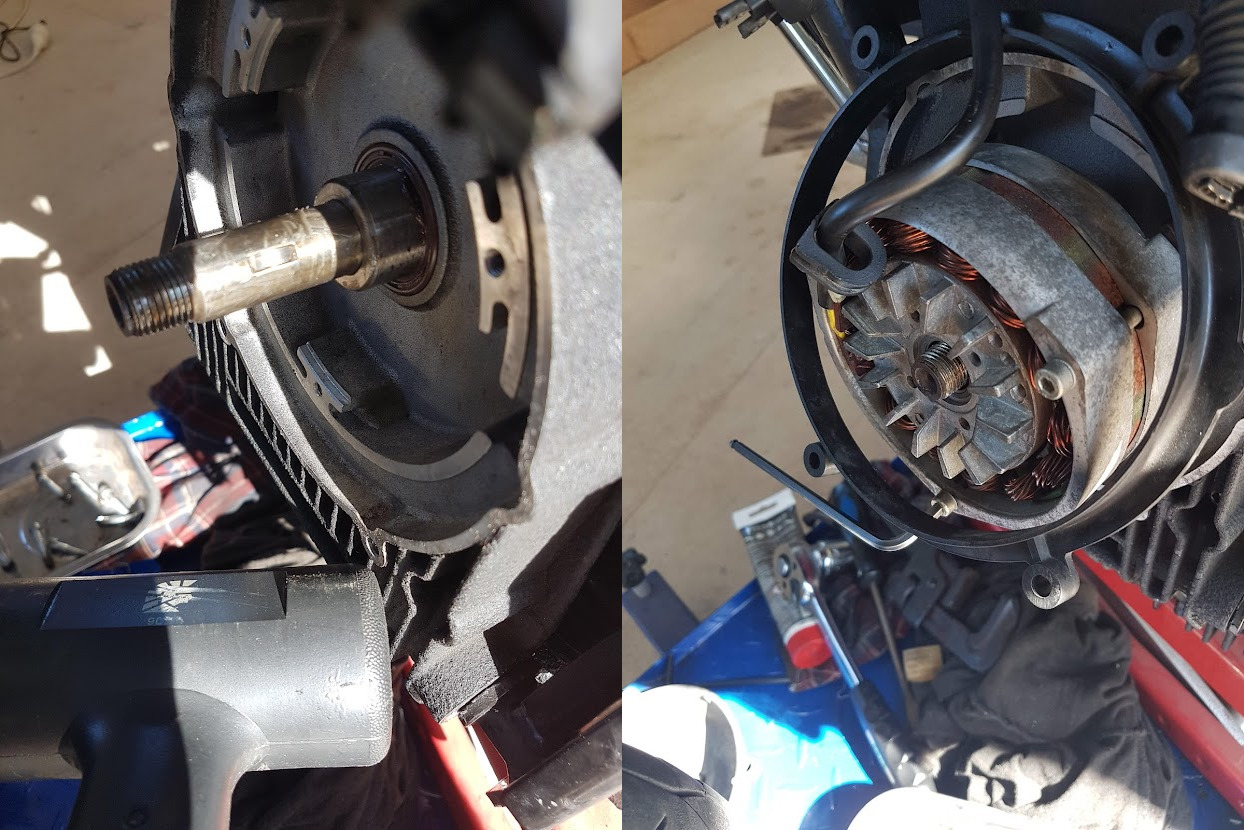
Removed the alloy alternator cover which exposed the alternator. Three bolts held the stator on so removed this and swumg it out of the way, still attached to its electrical cable.
To undo the nut holding the alternator to the crankshaft, I first removed the rubber bung from the side of the engine and inserted a screwdriver in to flywheel teeth to stop the engine from rotating and tried to undo the nut. Nope, more leverage required so I used my Stilson pipe wrench as a breaker bar on my spanner…and she came undone smoothly. Some useful advice for all this came from Mike’s Machines.
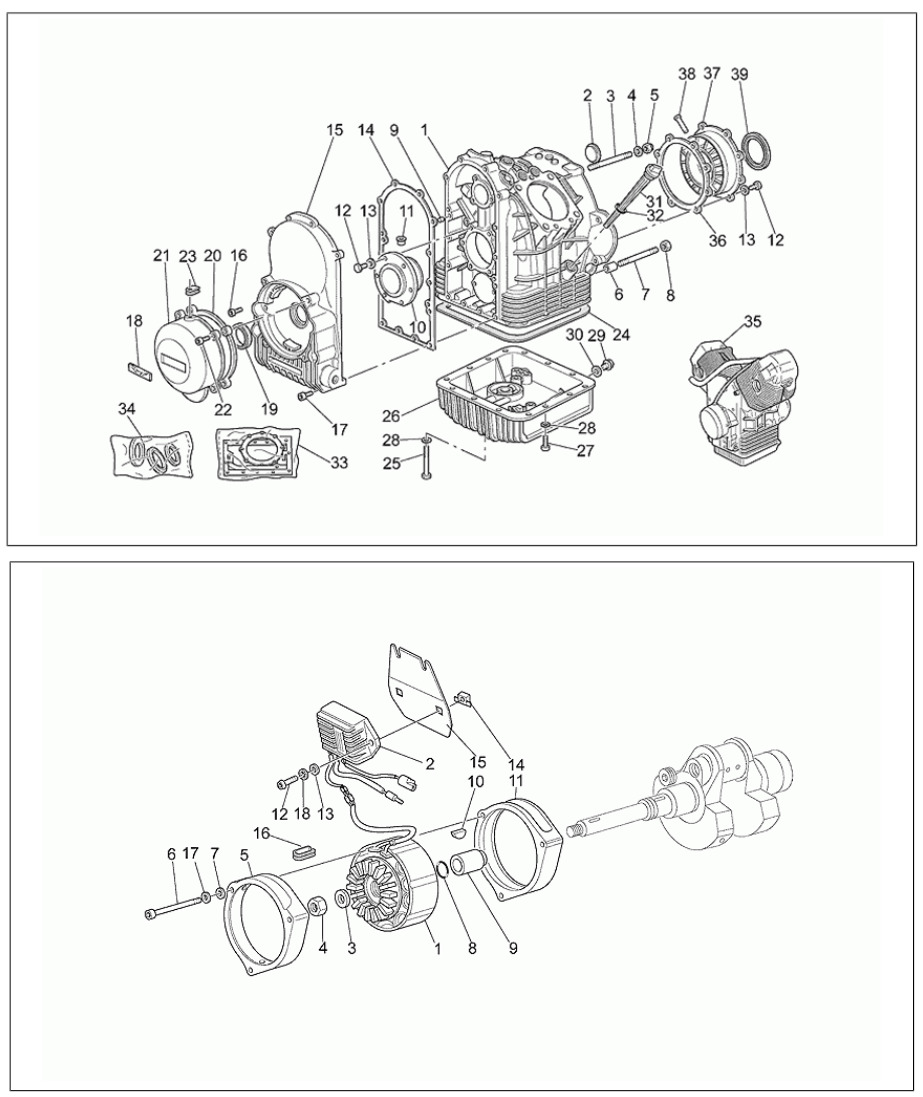
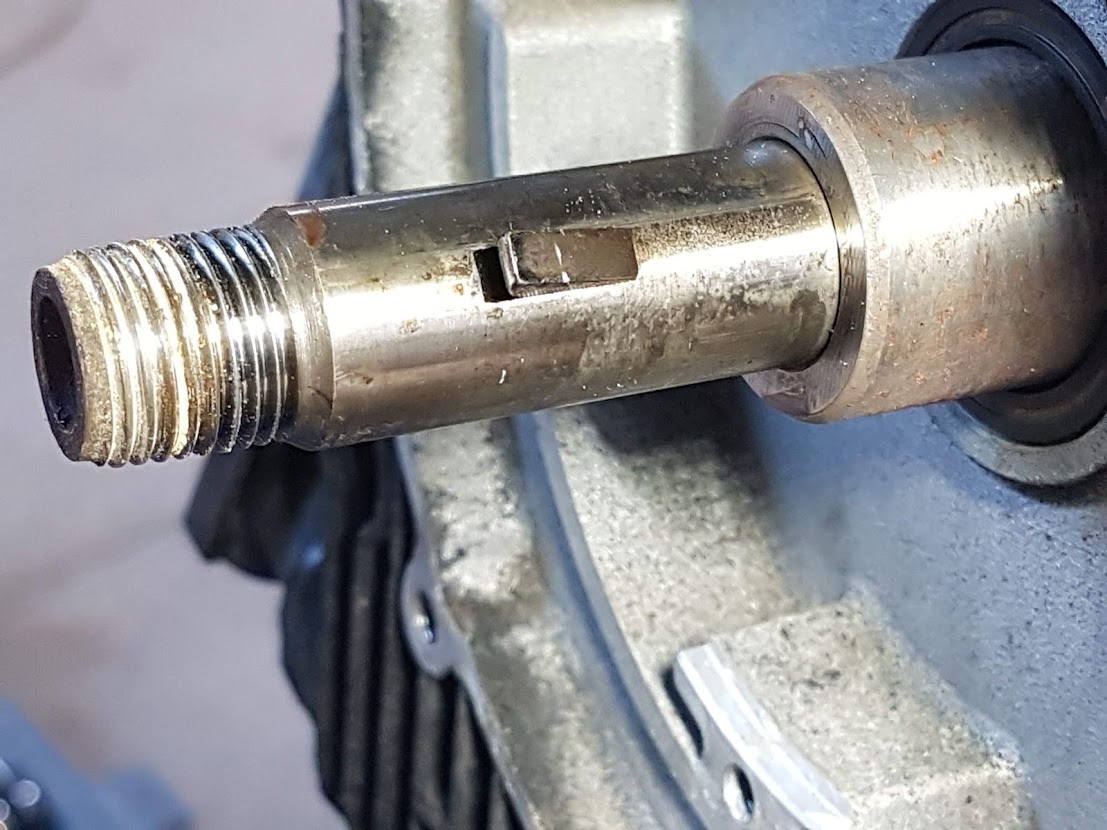
The rotor slid off with a bit of a wiggle. It’s held to the crankshaft by a “woodruff key” for which the rotor has a slot to slide on (No. 10 in the lower parts diagram). I placed the rotor in the stator and cable-tied them to the crash bar.
Removing the cover was straight forward, too, though I had to move the horns and the voltage regulator/rectifier out of the way to allow access to the top screws. I noted that the four lower bolts were longer than the rest. The cover came off without drama, the seal sliding over the oily crank. I levered off the base, where it attached to the frame, with a screwdriver. What I didn’t foresee was the cupful of oil that drained out all over my bike lift!

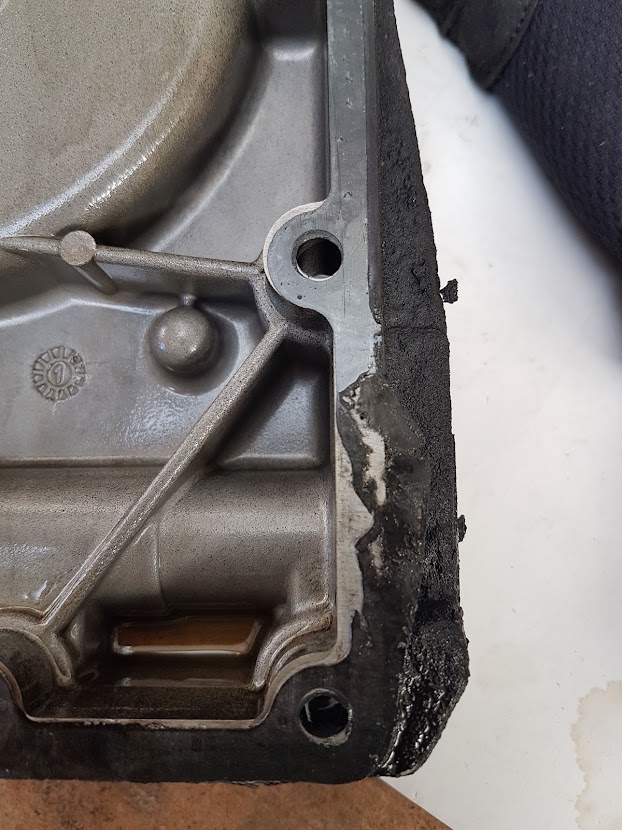
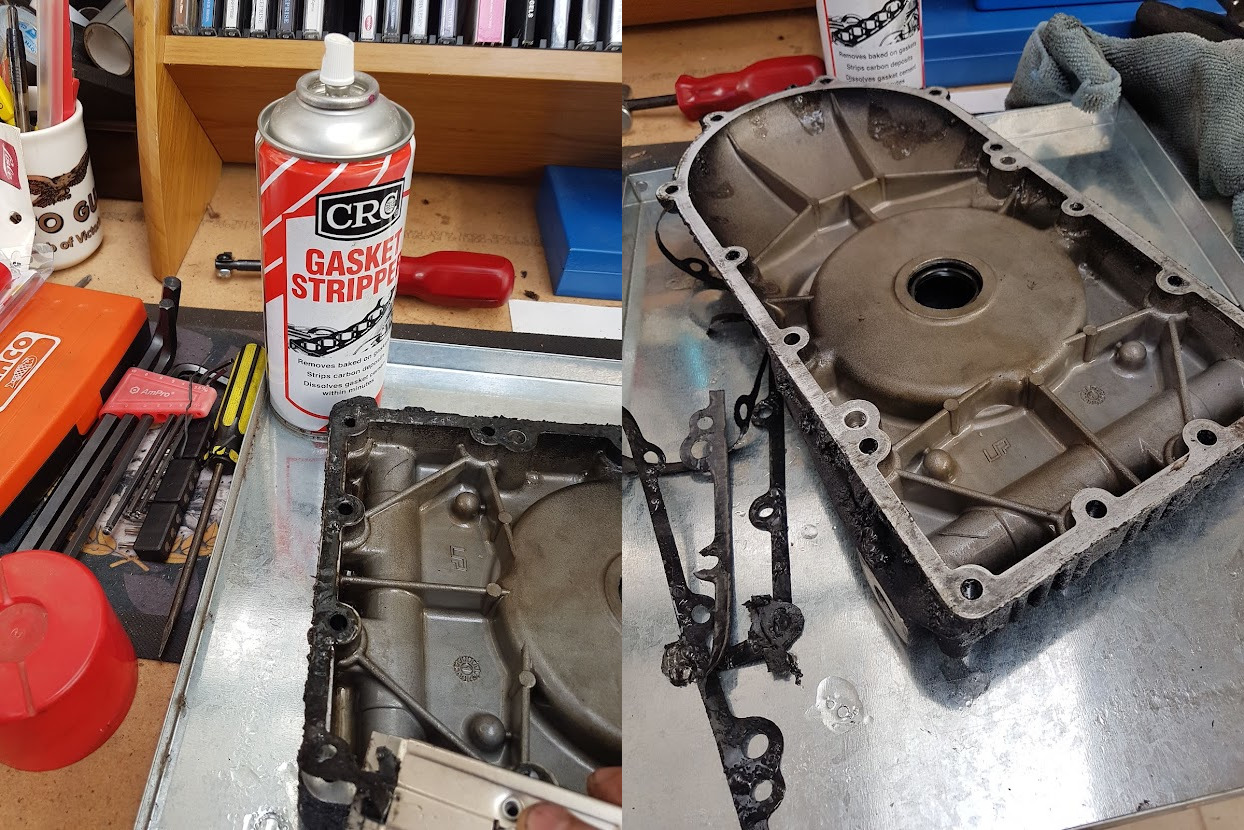
I hit the old gasket with CRC Gasket Stripper and 10 minutes later it peeled off easily with a scraper.
The old seal proved difficult to remove and I was wary about damaging the surface. My el cheapo seal removal tool wasn’t up to the task and grappling with a screwdriver ruined the seal but it didn’t budge. It had been on there for 20 years or so. Down my street, Fritz serviced and repaired ride-on lawnmowers in his shed so I walked down there to see if he could help. Using a seal remover tool which looked similar to a one-fork claw hammer, he removed it with one swift movement.

I cleaned both surfaces of the engine and timing cover and applied a thin smear of grease to them. Placed the new gasket on the engine, held in place by the grease smear.
The cover went back on smoothly; I had to tap the base with a rubber mallet to get it into the lower frame. I feared that the cover and frame holes might not line up so got down on my knees and eyeballed it. Perfick! I now eased the seal onto the spacer and slid the metal spacer and seal along the spindle and through the hole in the cover. Normally I would use an appropriate sized socket to seat the seal but none was deep enough go over the spindle to the seal, so I tapped the seal into place using a rod until it was completely and evenly fitted. Screwed the cover bolts back in then inserted the engine frame bolt and tapped that through with a hammer. No probs! Tightened them up (then realised that the frame bolt would need to be loosened to accommodate the toe cover supports).
A dab of grease, then I tapped the woodruff key into the spindle with a hammer. Lined up the rotor’s slot with the key, and she slipped on over the greased key and spindle like butter. Put the stator on and screwed it down. But I forgot the plastic spacer, which needed to go in before the stator due to the wiring, so undid the stator and slipped the black spacer in.
I inserted my screwdriver in on the flywheel teeth and tightened the nut holding the alternator to the crankshaft spindle, using my Stilson for extra leverage. On with the alloy cover. Job done! A few odds and ends to tidy up – horns, toe covers, exhaust headers, etc.
This is the deepest I’ve been into an engine. I was impressed with the simple design and construction of the Guzzi engine. I suspect that it’s a 2-hour job for a skilled mechanic. I took 4 days!


Job well done Dave. You’ll be an expert son.